5. ICS Device Manager
ICS Device Manager is Intrepid’s newest cross-platform utility for managing and configuring Intrepid’s hardware. It is an integral part of Vehicle Spy, but for those not using Vehicle Spy software, it is also available as a stand alone application.
Some older Intrepid hardware is not compatible with ICS Device Manager. If using older hardware, or using an older version of Vehicle Spy prior to the release of ICS Device Manager, neoVI Explorer can still be used. Documentation for installation and use of this legacy software can be found in the The neoVI Explorer Configuration Utility section of the documentation.
5.1. Starting and Using ICS Device Manager
5.1.1. Starting ICS Device Manager from within Vehicle Spy
There are several ways to open ICS Device Manager from within VSpy. These are probably the two easiest, since they are accessible at all times:
Menu Item: Click the Setup menu and then select Hardware.
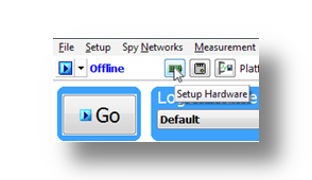
Hardware Setup Button: Click the button located in the main Vehicle Spy toolbar just under its menu (Figure below).
Note
ICS Device Manager cannot be launched when Vehicle Spy is online (even if in simulation mode). Attempting to do so, VSpy will display a prompt to either go offline and launch ICS Device Manager, or remain online and return to Vehicle Spy.
5.1.2. Starting ICS Device Manager as a Standalone Program
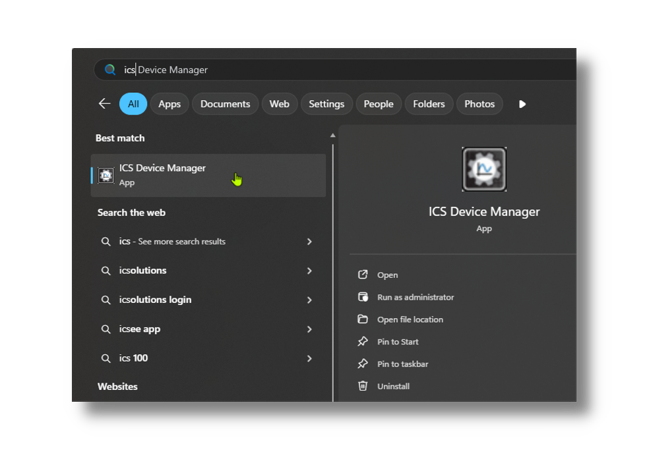
ICS Device Manager can be opened as standalone program. The easiest way to do this is use the search function on the Windows Start Menu as shown below.
5.2. Using ICS Device Manager
5.2.1. Discovering Devices
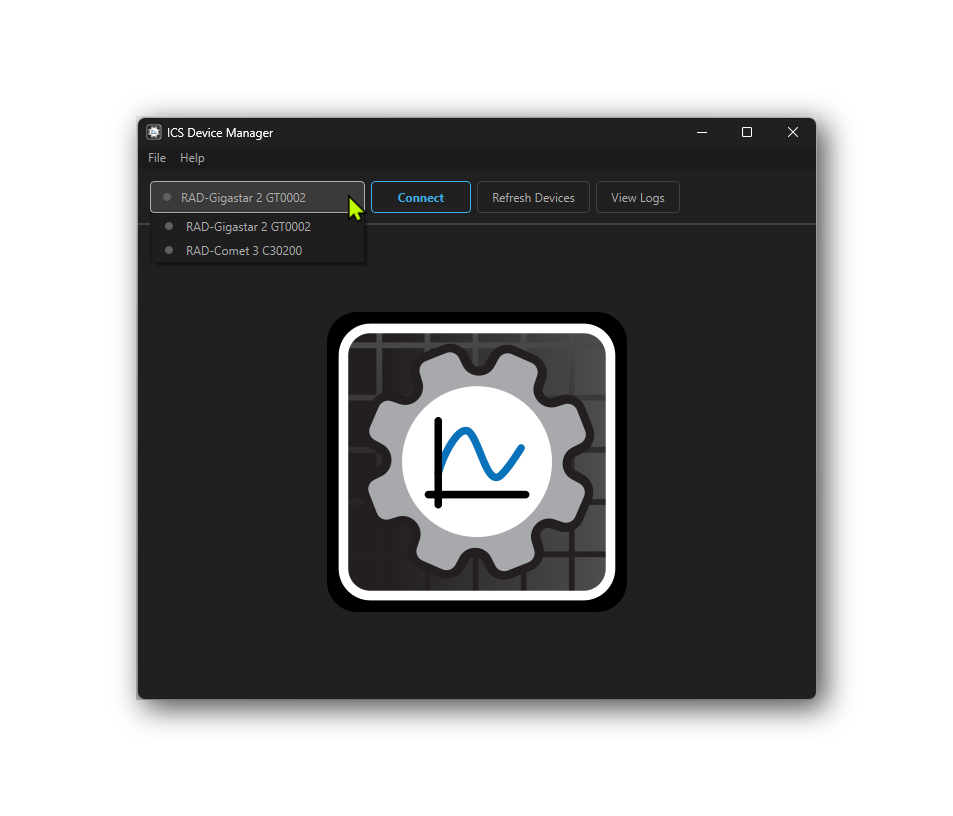
When ICS Device Manager loads, it will discover any connected Intrepid devices and display them along with their serial number in a drop-down menu under the File and Help menus on the top left. If a device is not listed, it may be necessary to press the “Refresh Devices” button to the right of the drop down menu. If a device is still not listed, it may be necessary to check the device’s power or connection to the host computer.
5.2.2. Connecting to a Device
To connect a device, select it from the drop-down menu and press the “Connect” button. This will connect to the device, the small indicator to the left of the device name will change from grey to green, and the “Connect” button will change to “Disconnect”. The device will remain connected until the “Disconnect” button is used to close the connection. Note that multiple devices can be connected at the same time, but only one device can be active in the user interface at a time.
Once connected, the Device Info screen will be shown, which displays information about the device such as Hardware Version, Firmware Version, Serial Number, and more. There are buttons to the top right to refresh the device information or copy the information to the clipboard.
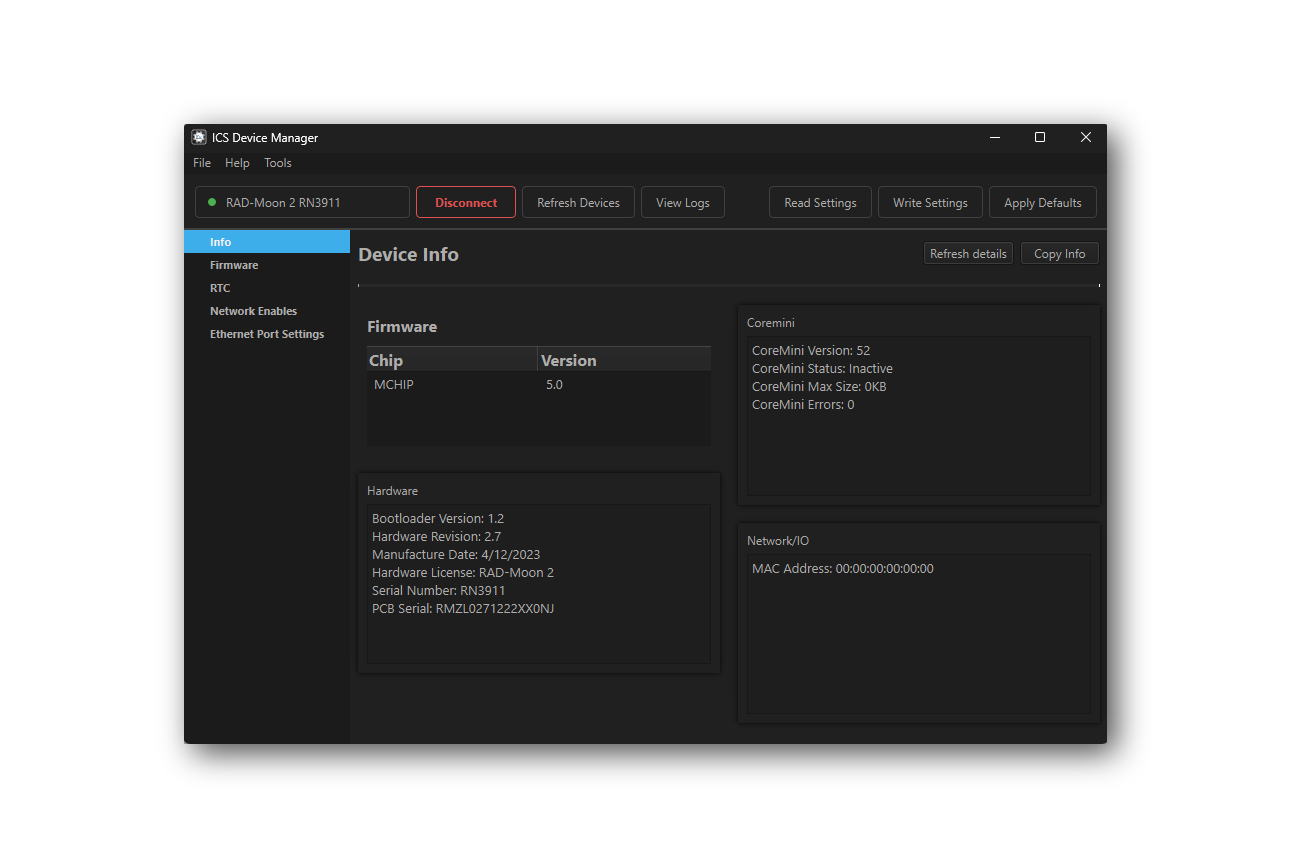
Note that this screen varies in content between Intrepid devices.
5.2.3. Viewing Activity Logs and Errors
If there are problems, pressing the “View Logs” button will show a log of recent activity and errors that may be helpful for troubleshooting. Right click on any log entry to copy it to the clipboard. Press the “Clear Logs” button to clear the log history and “Clear Errors” to clear the error history.
5.2.4. Reading and Writing Device Settings
The following commands are available in the menu at the top of the screen when a device is connected:
Read Settings: This will read the current settings from the device and update the values shown in ICS Device Manager. This is useful for undoing any changes made in ICS Device Manager that have not yet been saved to the device.
Save Settings: This will write any changes made in ICS Device Manager to the device. Until this button is pressed, any changes made in ICS Device Manager are only stored in the software and have not yet been sent to the device.
Apply Defaults: This will write the default settings to the device and then read them back for confirmation.
Warning
Note that any changes made in ICS Device Manager will not be saved to the device until the *”Save Settings”** button is pressed.*
5.2.5. Menu Bar
At the top of the window there is a menu bar with 3 menus.
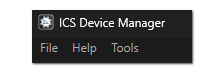
5.3. Firmware Updates
5.3.1. Automatic Firmware Updates
Unlike neoVI Explorer, the legacy config tool, Device Manager does not have the ability to automatically check for and update firmware. All firmware updates must be initiated manually by the user.
5.3.2. Manual Firmware Updates
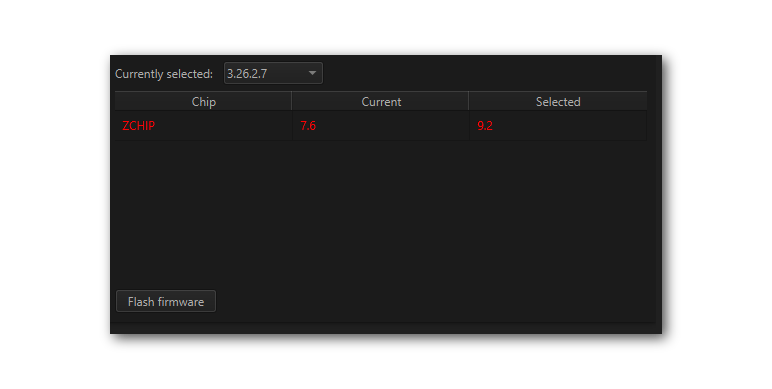
There is a slightly different interface for firmware updates depending on if the Device Manager was launched from Vehicle Spy or launched as a standalone application. The following sections show how to update the firmware in each case.
Device Manager launched from Vehicle Spy
This page shows which firmware version is currently in the device as well as the versions available for update. If Device Manager was launched from Vehicle Spy, the version of firmware released with the current version of Vehicle Spy will be display. Pressing “Flash Firmware” will update the device to this version.
Device Manager Launched Standalone
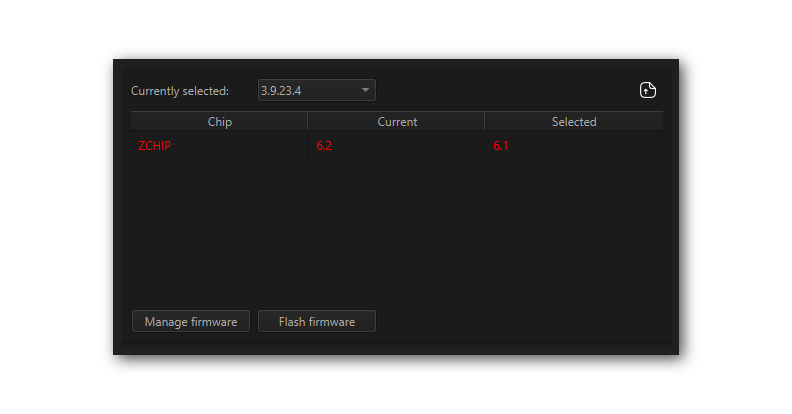
If Device Manager was launched as a standalone application, the interface has 3 differences.
The drop down menu will be populated with any versions of firmware that are stored locally on the computer.
A button exists in the top right corner to import firmware from a file (
).
There will be a “Manage Firmware” button.
Firmware Manager
Pressing the “Manage Firmware” button will open a new dialog box (below). The “Remote” tab has a drop down menu listing versions of firmware that can be downloaded from Intrepid’s server. After selecting the desired version, check the box(es) next to the device(s) desired and press the “Download” button.
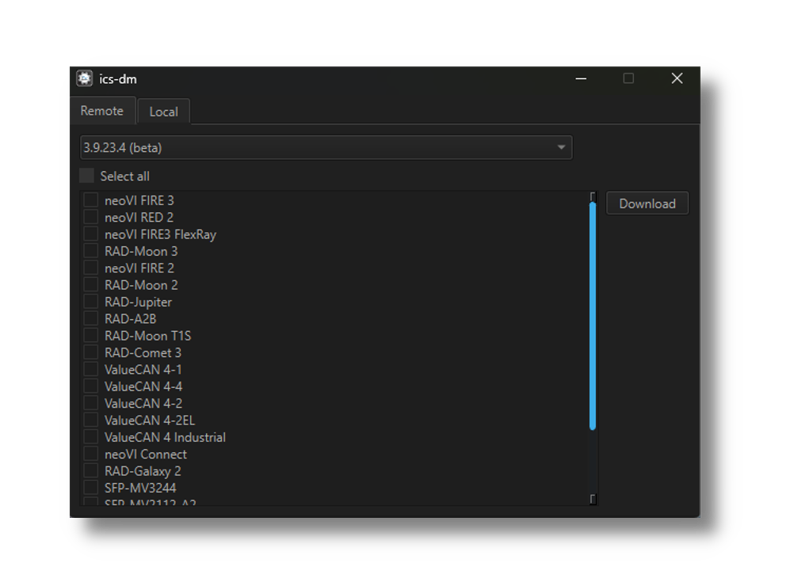
The “Local” tab is a similar interface for deleting versions of firmware that have already been downloaded.
5.3.3. The Firmware Update Process
Problems updating firmware over USB
If problems are encountered updating a device using USB, try removing any USB hubs and connect the device directly to the computer
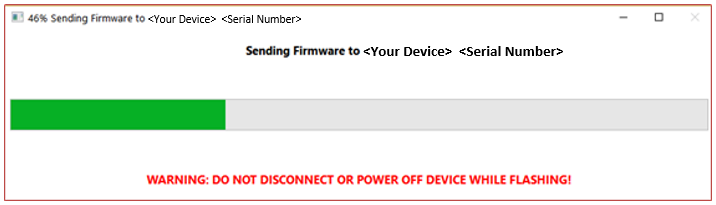
During the firmware update process, the device will be placed into bootloader mode, indicated by all LEDs on the top label flashing synchronously. Normal LED flash patterns will resume when the update is complete and the device reboots. The progress of the firmware update operation is displayed in a dialog box as shown below. When the process is complete the dialog box will disappear a message will appear in Device Manager to confirm that the update has finished. If any error messages are displayed or any other problems experienced updating the device’s firmware, please contact Customer Support for assistance.
Warning
Please take heed of the warning on the firmware update dialog box: leave the device connected and powered on for the entire firmware update process to avoid possible problems with the device.
5.4. RTC
This device contains a Real-Time Clock (RTC) that is the time base for data logging and other time-sensitive operations. The RTC is powered by a small battery, which allows it to maintain the current time and date even when the main power supply is disconnected.
This interface allows you to read the current time and date from the RTC, as well as synchronize it with the host computer’s time.

5.5. Network Enables
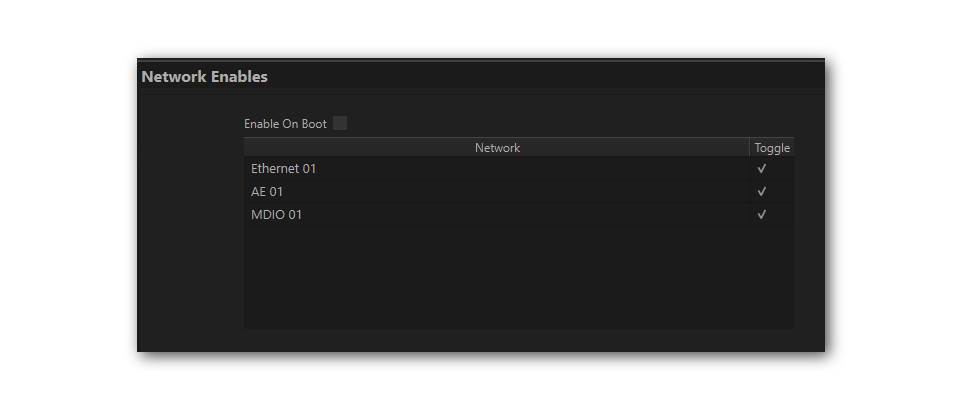
All device networks can be enabled or disabled in this branch of the configuration tree. The enabling/disabling that can be done here is redundant with what can be done in the network specific branches in Device Manager.
5.6. Ethernet Port Settings
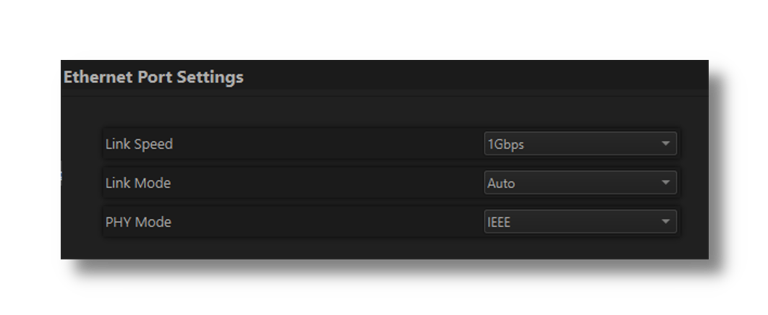
The link speed of the media converter and other PHY settings are configured in this interface.
Link Speed |
100 Mbps |
|
1 Gbps |
||
Auto |
||
Link Mode |
Master |
|
Slave |
||
Auto |
||
PHY Mode |
IEEE |
Recommended |
Legacy |
Mode required to link with 88Q2112 Rev A1 PHYs |
BASE-T PHY Settings
The Link Mode of the BASE-T PHY is fixed to “auto” and cannot be changed and the link speed is always set to match the BASE-T1 PHY.