6. Configuring LAN and Wi-Fi Connections on a Windows PC
To connect your Windows computer to the internet, you can use either a wired LAN (Ethernet) connection for stable, high-speed access or a wireless Wi-Fi connection for flexibility and mobility. Configuring both is simple using Windows network settings, allowing you to easily switch between networks, troubleshoot issues, and ensure a smooth online experience whether you’re at home, work, or on the move.
Let’s get started with the step-by-step setup.
6.1. Configure your computer LAN (Windows)
Ensure the Network connection is Enabled. Go to Start — Control Panel — Network and Internet — Network and Sharing Center. Click on the Change adapter settings in the left panel, then right-click on Network Adapter, and select Enable.
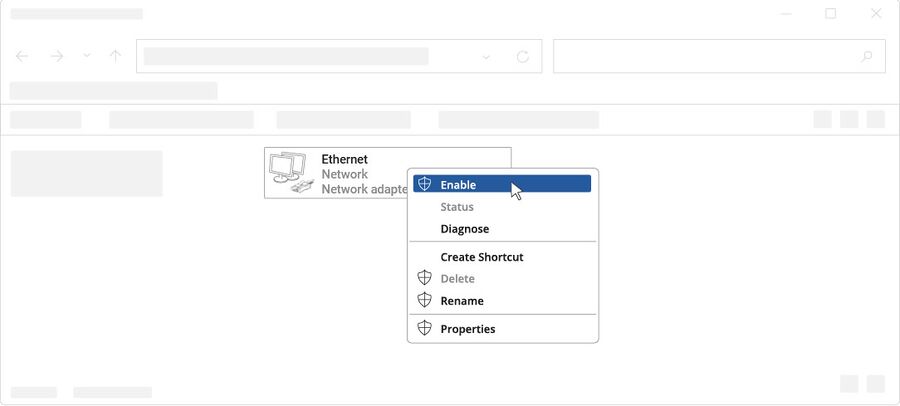
Check if IP and DNS are obtained automatically. Right-click on Network Adapter and select Properties. Then select Internet Protocol Version 4 and click Properties.
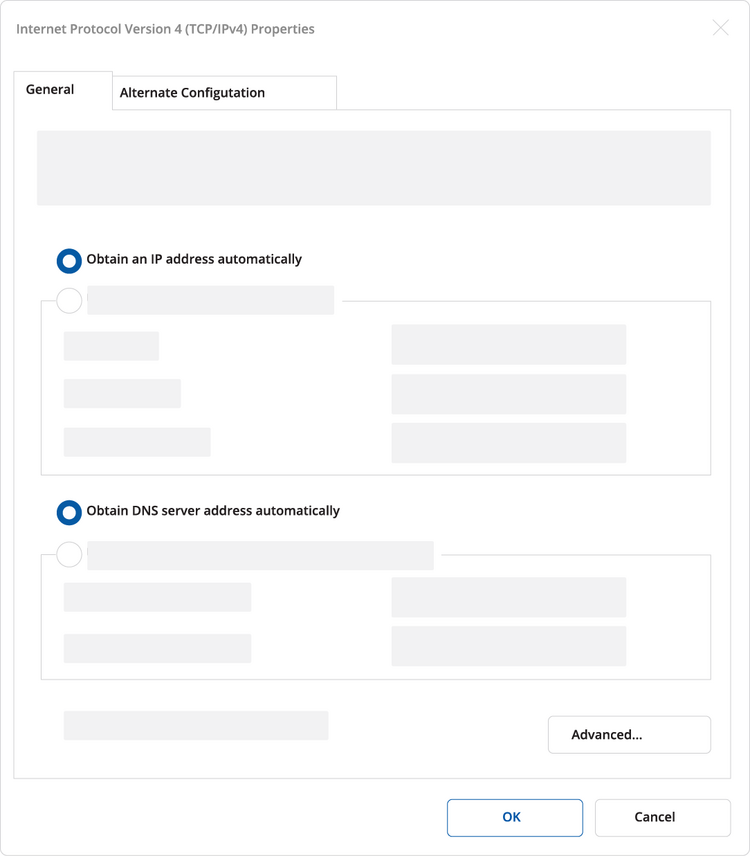
If not selected, check to obtain an IP address and obtain DNS server address automatically. Click OK.
6.2. Configure your computer Wi-Fi (Windows)
Ensure the Wireless network connection is Enabled. Go to Start — Control Panel — Network and Internet — Network and Sharing Center. Click on the Change adapter settings in the left panel, then right-click on Wireless Network Adapter, and select Enable.
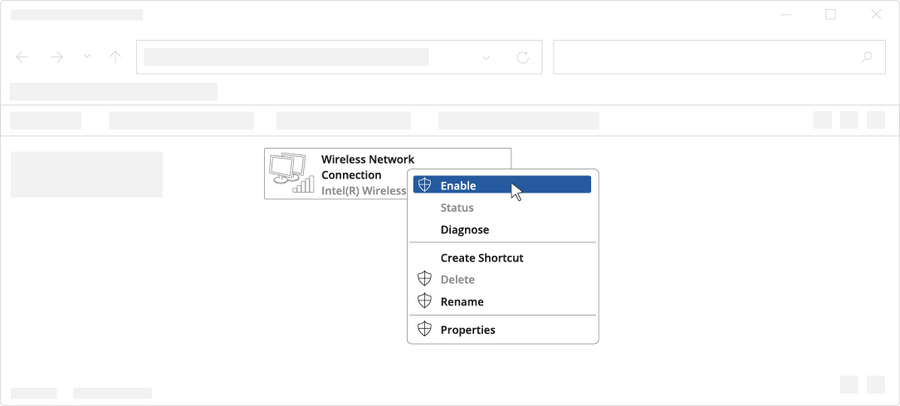
Check if IP and DNS are obtained automatically. Right-click on Wireless Network Adapter and select Properties. Then select Internet Protocol Version 4 and click Properties.
If not selected, check to obtain an IP address and obtain DNS server address automatically. Click OK.
Connect to a wireless network by right-clicking on Wireless Network Adapter and selecting Connect.

Choose the wireless network RAD-4G** from the list and click Connect. Enter the Wi-Fi password located on the device’s label.

6.3. Login to device
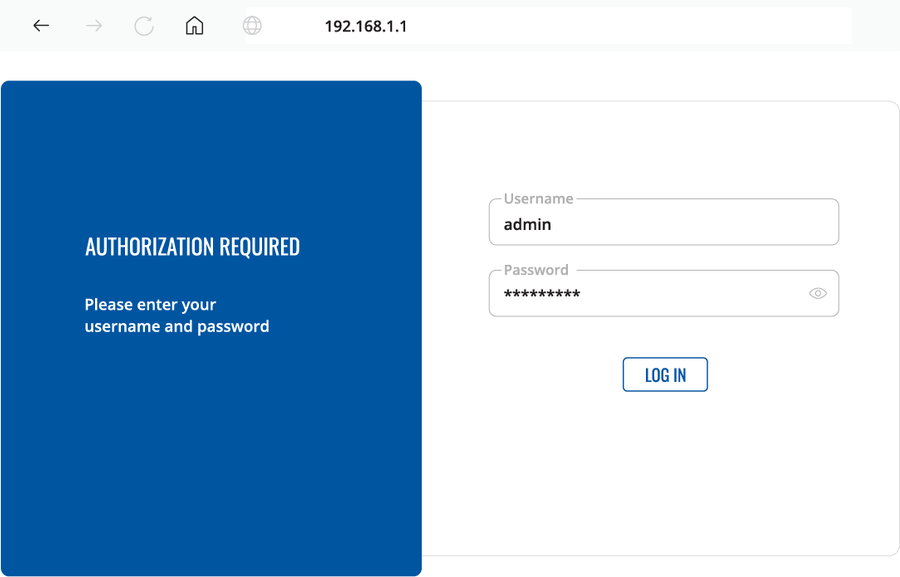
To enter the router’s Web interface (WebUI), type http://192.168.1.1 into the URL field of your Internet browser.
When prompted for authentication enter the username admin and enter the password located on the device information label/engraving.
After logging in, you must set a new password for security reasons. You will not be able to interact with the router’s WebUI until the default password is changed. The new password must consist of a minimum of 8 characters. Requirements: one uppercase letter, one lowercase letter, and one digit.
Next, the Configuration Wizard will start to help you set up some of the router’s main operational parameters.
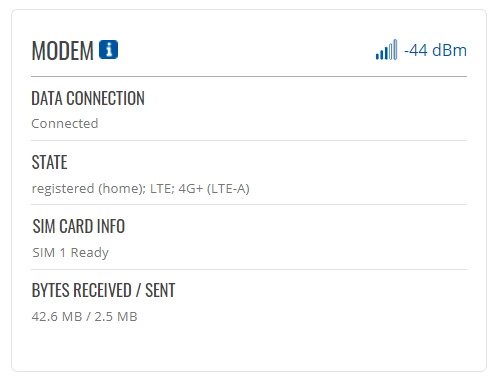
Finally, let’s verify the Mobile signal strength. Go to the Status — Network page and pay attention to the Signal Strength indication.
To achieve the best signal conditions and maximize cellular performance, try adjusting the antennas or changing the location of your device. You can find information on signal strength recommendations here.
6.4. SIM card recommendations
Before installing the SIM cards, please apply a thin layer of dielectric grease to the SIM card contacts for devices used in environments with high-vibration levels. This will help avoid SIM cards losing touch with the SIM slot and prevent unexpected failures.
Industrial Grade SIM cards are recommended for devices requiring a long lifespan used in environments with extreme temperatures, corrosive or extra humid climates, or hard-to-reach locations.