5. A Tour of neoVI CONNECT Hardware
Let’s now take a short tour of the neoVI CONNECT. We’ll examine the device from all sides, showing its external components and explaining what each does. This will help you become more familiar with the unit so you can more easily set up, configure and use it.
Warning
Warning: The neoVI’s is a complex device that does not contain any user-serviceable parts. Do not attempt to open the case of the neoVI CONNECT unless specifically instructed to do so by an Intrepid Control Systems technician, or you risk possible injury or damage to the unit.
5.1. Case and Overall Design
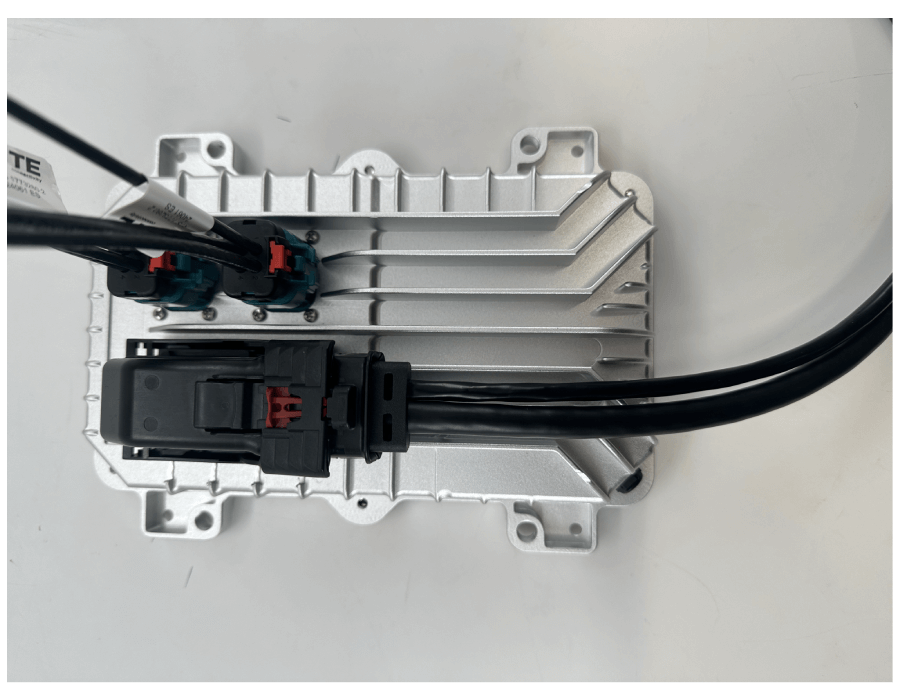
The neoVI CONNECT device is enclosed in a ruggedized IP67 case. The device has been designed and tested for in-vehicle use, and is operational in a temperature range from -40°C to +85°C. An overall view of the neoVI’s device can be seen in Figure 3.
Connectors and ports are often a point of failure with hardware devices. To ensure that the neoVI’s provides you with years of reliable service, Intrepid has ruggedized the physical interfaces on the device by using a MX123 73 Position Automotive Connector and 2 AmpSeal 16 4-Position Coax Connector.

Figure 3: Overview of the neoVI CONNECT device
5.1.1. Cellular, WiFi and GPS Antenna Connector
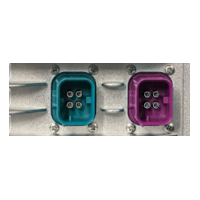
The system is equipped with robust connectivity options to enhance communication capabilities. It features a Cellular, WiFi, and GPS antenna connector, designed to ensure seamless integration and reliable performance across various applications.
The Ampseal connector plays a vital role in this setup by providing a secure and stable interface for attaching both Cellular and WiFi antennas. This allows the system to maintain strong connectivity, enabling uninterrupted data transmission, whether for navigation, telemetry, or other wireless communication needs.

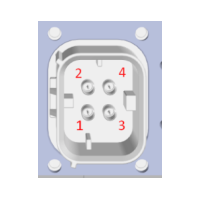
Figure 4: Connector

Green Connector
Position |
Connector J8 |
|---|---|
1 |
WIFI |
2 |
NA |
3 |
GNSS |
4 |
WIFI-1 |
Violet Connector
Position |
Connector J8 |
|---|---|
1 |
CELL0 |
2 |
MIMO3 |
3 |
MIMO4 |
4 |
CELL1 |